
Welcome to the Honeywell Pro 6000 Installation Manual, your comprehensive guide for installing and configuring the FocusPRO TH6000 Series thermostat. This manual ensures proper setup and optimal performance.
1.1 Overview of the Honeywell Pro 6000 Thermostat
The Honeywell Pro 6000 thermostat, part of the FocusPRO TH6000 series, is a programmable device designed for efficient temperature control. It features adaptive intelligent recovery, ensuring optimal heating and cooling. Compatible with various HVAC systems, it offers flexible installation options. The thermostat’s user-friendly interface and advanced settings provide precise temperature management. Its sleek design and wallplate mounting system ensure seamless integration into any home or commercial setting, making it a reliable choice for modern climate control needs.
1.2 Importance of Proper Installation
Proper installation of the Honeywell Pro 6000 thermostat is crucial for ensuring optimal performance, efficiency, and safety. Incorrect installation can lead to reduced functionality, increased energy consumption, or even system damage. Following the manual’s guidelines guarantees correct wiring, alignment, and setup, preventing potential issues. Proper installation also ensures compliance with safety standards and maintains warranty validity. By adhering to the instructions, you can enjoy reliable temperature control, energy savings, and long-term system durability.
System Requirements and Compatibility
The Honeywell Pro 6000 is compatible with most HVAC systems, including conventional, heat pump, and dual-fuel setups. Ensure your system meets the specified technical requirements for optimal performance.
2.1 Compatible HVAC Systems
The Honeywell Pro 6000 thermostat is designed to work with various HVAC systems, including conventional, heat pump, and dual-fuel configurations. It supports both single-stage and multi-stage systems, ensuring flexibility for different home setups. The thermostat is also compatible with gas, oil, and electric furnaces, as well as air conditioning units. Proper compatibility ensures efficient heating, cooling, and fan operations. Always verify your system type before installation to guarantee optimal performance and functionality.
2.2 Technical Specifications
The Honeywell Pro 6000 thermostat features a high-resolution, backlit display and a touch screen interface for easy navigation. It supports up to 3 stages of heating and 2 stages of cooling, making it suitable for various HVAC systems. The thermostat operates on 24V AC power and is compatible with single or dual transformer setups. It also includes advanced features like Adaptive Intelligent Recovery and programmable temperature limits. Ensure your system meets these specifications for optimal performance and functionality.
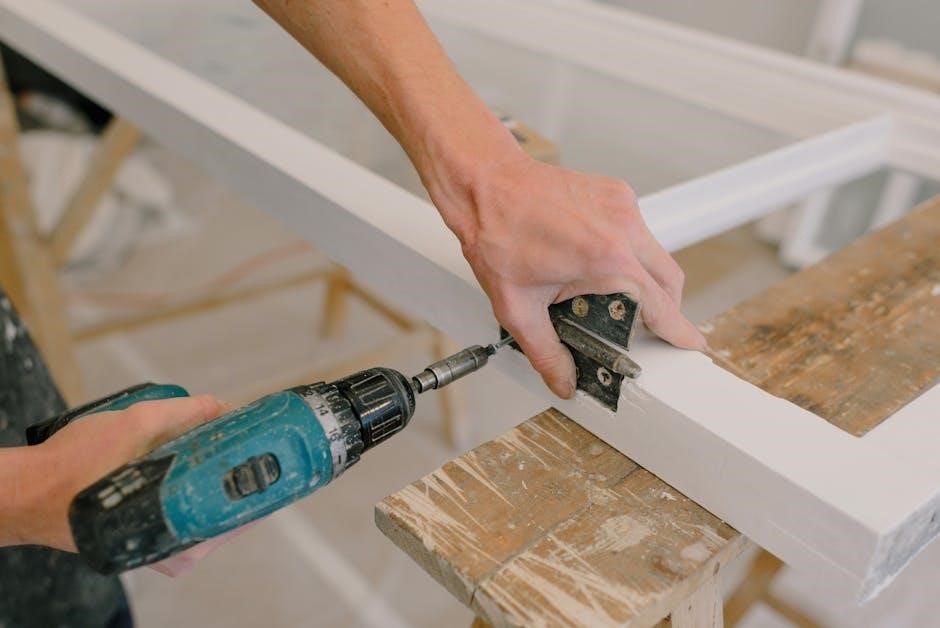
Pre-Installation Steps
Pre-installation steps ensure a smooth setup. Verify system compatibility, prepare the site, and gather necessary tools before proceeding with the Honeywell Pro 6000 installation.
3.1 Unboxing and Inventory
Begin by carefully unboxing the Honeywell Pro 6000 thermostat and verifying all components. Ensure the package includes the thermostat, wallplate, wiring connectors, screws, and installation manual. Check for any damage or missing items. Separate the wallplate from the thermostat as instructed. Familiarize yourself with the included accessories and tools. This step ensures you have everything needed for a successful installation, avoiding delays or issues later. Proper inventory preparation is key to a smooth setup process.
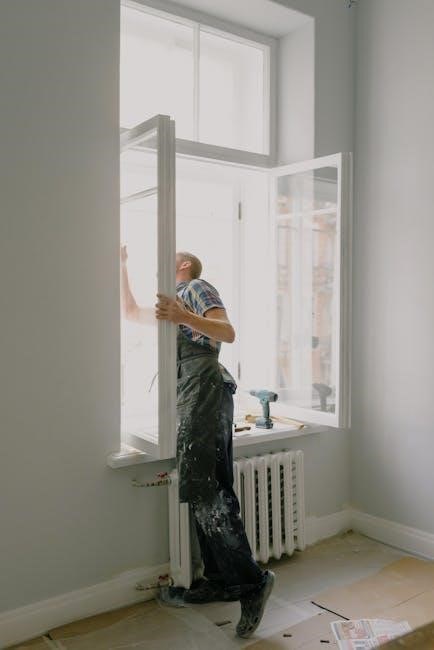
3.2 Site Preparation
Before installation, ensure the area around the thermostat is clear and accessible. Verify the wall surface is level and suitable for mounting the wallplate. Check for any obstructions or wiring issues. Ensure the power supply meets the thermostat’s requirements. Turn off the power to the HVAC system at the circuit breaker before starting work. Prepare all necessary tools and materials, such as screws and wiring connectors, to streamline the installation process. Proper site preparation ensures a safe and efficient setup.
Removing the Old Thermostat
Start by disconnecting power to the HVAC system. Carefully detach the old thermostat from the wallplate, ensuring wires remain intact for the new installation.
4.1 Disconnecting Power
Before removing the old thermostat, ensure the HVAC system is powered off. Locate the circuit breaker or switch controlling the system and turn it off. Verify the thermostat display is dark or unresponsive to confirm power is disconnected. This step is crucial for safety, preventing any accidental start-ups or electrical shocks during removal. Once power is off, proceed to detach the thermostat from the wallplate, taking care not to damage the wires or surrounding area.
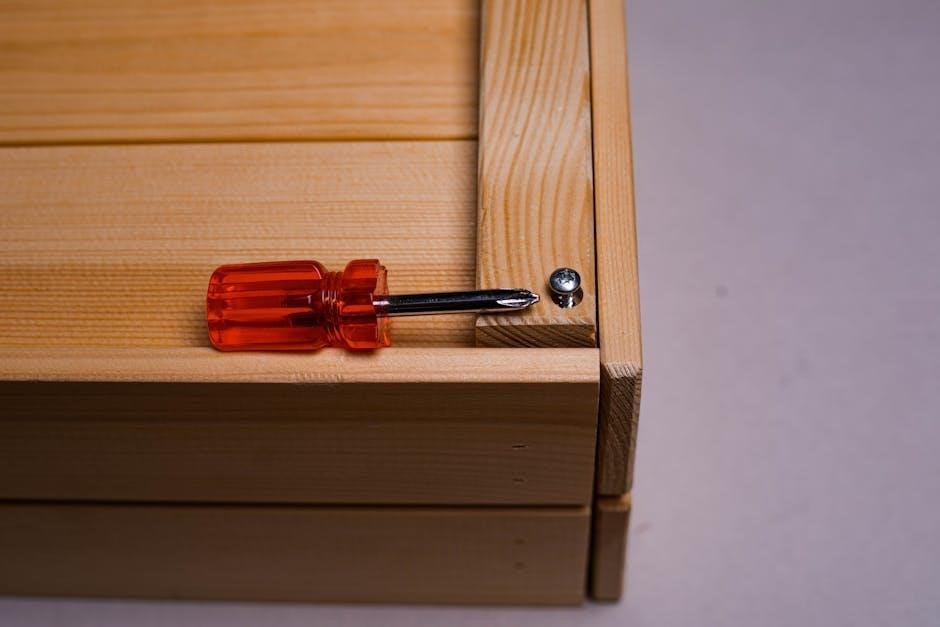
4.2 Detaching the Wallplate
To detach the wallplate, gently pull the thermostat away from the wall. If it resists, check for screws holding it in place. Remove any visible screws using a screwdriver, then carefully lift the thermostat off the wallplate. Be cautious not to force it, as this could damage the wires or the wall. Once removed, set the thermostat aside and ensure the wallplate remains securely fastened to the wall for the new installation. This step ensures a smooth transition to the Honeywell Pro 6000 setup.
Understanding the Wiring
Understanding the wiring is crucial for a safe and accurate installation. Identify wire labels and refer to the provided diagrams to ensure proper connections and system compatibility.
5.1 Identifying Wire Labels
Identifying wire labels is essential for a successful installation. Refer to the wiring diagram in the manual to match each wire to its corresponding label (e.g., R, W, Y, G, C). Ensure all connections are secure and correctly paired to avoid system malfunctions. Double-check the labels against the thermostat’s terminal connections to confirm compatibility and proper setup. This step ensures safe and efficient operation of your Honeywell Pro 6000 thermostat.
5.2 Wiring Diagrams
Wiring diagrams are crucial for accurately connecting your Honeywell Pro 6000 thermostat. These diagrams, found in the manual, illustrate the proper wire connections for various HVAC systems. Refer to the specific diagram matching your system type to ensure correct installation. Use the labels identified earlier to connect wires to the appropriate terminals. Double-check connections to avoid errors. The diagrams also guide advanced setups, such as multi-stage systems or heat pumps, ensuring compatibility and optimal performance. Always follow the diagram corresponding to your system configuration for reliable operation.
Mounting the Wallplate
Mount the wallplate securely to the wall, ensuring it is level and properly aligned. Follow the installation guide for precise placement and attachment instructions.
6.1 Aligning the Wallplate
Properly align the wallplate to ensure a straight and level installation. Use a level tool to verify alignment. Mark the wall with a pencil to guide placement. Ensure the wallplate is centered and evenly spaced. Double-check alignment from multiple angles to avoid crooked installation. Misalignment can lead to uneven thermostat operation. Follow the manual’s visual guides for accurate placement. This step is crucial for both functionality and aesthetic appeal. Take your time to ensure precision.
6.2 Securing the Wallplate
Once aligned, secure the wallplate using the provided screws. Ensure the plate is snug against the wall for a stable installation. Check alignment again before tightening. Use a screwdriver to firmly fasten the screws without over-tightening. If necessary, pre-drill holes to avoid damaging the wall. Properly securing the wallplate prevents loose connections and ensures reliable thermostat operation. Follow the manual’s screw placement guide for optimal results. A secure wallplate is essential for long-term performance and durability.
Installing the Thermostat
Attach the thermostat to the wallplate, ensuring proper alignment and secure connection. Follow the wiring diagram to connect wires correctly. Test the system to confirm functionality.
7.1 Attaching the Thermostat to the Wallplate
Begin by removing the wallplate from the thermostat. Align the thermostat with the wallplate, ensuring proper fitment. Secure the thermostat firmly to the wallplate using the provided screws. Connect the wires according to the wiring diagram, matching labels carefully. Once attached, test the system to ensure heating, cooling, and fan operations function correctly. This step ensures a stable and efficient installation of the Honeywell Pro 6000 thermostat.
7.2 Connecting the Wires
Refer to the wiring diagram in the Honeywell Pro 6000 manual. Match each wire to its corresponding terminal on the thermostat, ensuring labels align correctly. Secure the wires firmly to prevent loose connections. Use the FocusPRO TH6000 Series wiring guide for specific terminal assignments. After connecting, test the system to verify heating, cooling, and fan operations. Proper wiring ensures reliable thermostat performance and avoids potential malfunctions. Consult the manual if unsure about any connections.
Configuring the Thermostat Settings
Configure the Honeywell Pro 6000 by setting up Adaptive Intelligent Recovery and programming schedules. Use the installer menu for advanced settings to optimize performance and energy efficiency.
8.1 Setting Up the Adaptive Intelligent Recovery
The Adaptive Intelligent Recovery feature optimizes your HVAC system’s performance by learning its operation. Access this setup via the installer menu (Function 13). Select the recovery type, such as heating or cooling, and adjust settings to match your preferences. This feature ensures the system reaches the desired temperature efficiently. Save your settings and test the system to confirm proper operation. This setup enhances energy efficiency and maintains consistent comfort levels throughout your home.
8.2 Programming the Thermostat
Programming the Honeywell Pro 6000 thermostat allows you to set temperature schedules tailored to your lifestyle. Access the menu, select the schedule option, and choose the desired days. Set your preferred temperatures for wake, leave, return, and sleep periods. Adjust temperature limits to ensure comfort and efficiency. Save your settings to activate the schedule. This feature ensures your home is at the right temperature when needed, optimizing energy use and comfort. Regularly review and update your schedule as needed.
Installer Setup and Options
Access the installer menu to configure advanced settings, ensuring optimal system performance. Navigate through options to customize parameters and perform system tests for proper functionality.
9.1 Navigating the Installer Menu
The installer menu provides access to advanced configuration options. Use the navigation buttons to scroll through settings like system tests and adaptive recovery. Select options using the confirm button. Ensure proper setup by following on-screen prompts. Refer to the manual for detailed descriptions of each function. Carefully navigate through the menu to avoid unintended changes. Proper configuration ensures optimal system performance and functionality. This step is crucial for a successful installation.
9.2 Configuring Advanced Settings
Configure advanced settings through the installer menu to optimize system performance. Navigate to the advanced settings section and adjust parameters like temperature limits and recovery modes. Use the Adaptive Intelligent Recovery feature to improve efficiency. Ensure all settings align with your HVAC system’s capabilities. Test configurations to verify functionality. Refer to the manual for detailed instructions on each setting. Proper configuration ensures reliable operation and energy efficiency. Always consult the manual for specific guidance on advanced features.
Testing the System
Test the system’s heating, cooling, and fan operations to ensure proper functionality. Verify all modes work correctly and adjust settings if necessary for optimal performance.
10.1 Running System Tests
To ensure proper functionality, run system tests via the installer menu. Select “System Test” to check heating, cooling, fan, and emergency heat operations. Each test runs for a few minutes to verify performance. Monitor the system to confirm all modes operate correctly. If issues arise, refer to the troubleshooting section for solutions. This step ensures your Honeywell Pro 6000 thermostat is functioning as intended, providing reliable temperature control and energy efficiency.
10.2 Verifying Heating, Cooling, and Fan Operations
After running system tests, verify each mode individually. Check heating by setting a higher temperature and ensuring the system activates. For cooling, set a lower temperature and confirm the AC starts. Test the fan by selecting the “Fan Only” mode. Each mode should operate smoothly and quietly. If any issues arise, such as delayed starts or unusual noises, refer to the troubleshooting section or consult the installer menu for advanced diagnostics. Proper operation ensures reliable performance and energy efficiency.
Programming the Thermostat
Program your Honeywell Pro 6000 to optimize temperature settings. Set schedules, enable Adaptive Recovery, and adjust temperature limits for energy efficiency and comfort. Navigate the menu for configuration.
11.1 Setting Temperature Schedules
Set custom temperature schedules on your Honeywell Pro 6000 thermostat for optimal comfort and energy savings. Access the menu, select desired days, and choose specific times to adjust temperatures. Use the Adaptive Recovery feature to pre-heat or cool your home before scheduled times. Program up to four periods per day, ensuring consistent temperatures during waking hours, sleep, and away periods. Save settings to maintain your preferred schedule automatically. This feature enhances efficiency and ensures your home stays comfortable without unnecessary energy use.
11.2 Adjusting Temperature Limits
Adjust temperature limits on your Honeywell Pro 6000 thermostat to customize heating and cooling ranges. Access the settings menu and navigate to temperature limits. Set minimum and maximum temperatures to prevent extreme conditions. For heating, typical ranges are 40°F to 90°F, while cooling ranges are 50°F to 99°F. Use the Adaptive Recovery feature to optimize temperature regulation. Ensure settings align with your comfort preferences and energy-saving goals. Properly configured limits enhance system efficiency and maintain consistent indoor conditions year-round.

Understanding Thermostat Operation
The Honeywell Pro 6000 thermostat regulates temperature by monitoring ambient conditions and activating HVAC systems. It uses Adaptive Intelligent Recovery to learn and adjust heating/cooling cycles for efficiency and comfort.
12.1 How the Thermostat Regulates Temperature
The Honeywell Pro 6000 thermostat regulates temperature by continuously monitoring ambient conditions and comparing them to setpoints. It uses advanced algorithms to determine when to activate heating or cooling systems. The Adaptive Intelligent Recovery feature learns the system’s performance and adjusts operation to reach desired temperatures efficiently. This ensures consistent comfort while minimizing energy use. The thermostat also responds to manual adjustments and programmed schedules, adapting seamlessly to user preferences and environmental changes.
12.2 Using the Adaptive Recovery Feature
The Adaptive Recovery feature on the Honeywell Pro 6000 thermostat optimizes temperature control by learning your system’s performance. It predicts the time needed to reach setpoints and adjusts operation accordingly. This feature ensures energy efficiency and consistent comfort. Enable it through the installer menu (Function 13) to let the thermostat adapt to your HVAC system’s characteristics. It works seamlessly with programmed schedules, adjusting recovery times based on historical data to maintain optimal temperatures while reducing energy consumption.

Troubleshooting Common Issues
Identify and resolve issues like display malfunctions or temperature inaccuracies by checking power connections, wiring, and system settings. Refer to the manual for detailed diagnostic steps.
13.1 Diagnosing Installation Problems
Diagnosing installation issues with the Honeywell Pro 6000 involves checking for common problems like incorrect wiring or loose connections. Ensure power is disconnected before troubleshooting. Verify that all wires are securely attached to the correct terminals and that the wallplate is properly mounted. If the thermostat fails to power on, check the circuit breaker or fuse. Review the wiring diagram in the manual to confirm connections match your HVAC system. Test the system operation after addressing any issues to ensure proper functionality.
13.2 Resolving Common Errors
Common errors during Honeywell Pro 6000 installation often relate to wiring or system compatibility. If the thermostat fails to power on, check the circuit breaker and ensure proper wiring connections. For issues with heating or cooling, verify that the HVAC system is compatible and that wires are correctly labeled. Reset the thermostat by removing batteries or disconnecting power for 30 seconds. Consult the wiring diagram in the manual to resolve connection mismatches. Addressing these issues ensures proper system operation and functionality.
Maintenance and Upkeep
Regularly clean the Honeywell Pro 6000 thermostat to ensure optimal performance. Use a soft cloth to wipe the display and remove dust. Check for software updates to maintain functionality and security, following the manual’s instructions for installation. Proper upkeep extends the product’s lifespan and ensures reliable operation.
14.1 Cleaning the Thermostat
Regular cleaning ensures the Honeywell Pro 6000 thermostat operates efficiently. Use a soft, dry cloth to gently wipe the display and exterior. Avoid harsh chemicals or moisture, as they may damage the device. For stubborn stains, lightly dampen the cloth with water, but ensure no moisture seeps inside. Cleaning every few months helps maintain performance and extends the product’s lifespan. Always power down the thermostat before cleaning to prevent any accidental damage or electrical issues.
14.2 Updating Software (if applicable)
To ensure optimal performance, periodically check for software updates for your Honeywell Pro 6000 thermostat. Use the Honeywell Home app or access the installer menu directly on the device. Select “Update Software” and follow the on-screen instructions to download and install the latest version. Updates may improve functionality, add features, or fix issues. Always restart the thermostat after an update to complete the installation. Refer to the user manual or online support for detailed guidance if needed.
Conclusion
Thank you for following the Honeywell Pro 6000 Installation Manual. Proper installation ensures optimal performance and energy efficiency. Enjoy your upgraded home comfort experience!
15.1 Final Checks
After completing the installation, perform a thorough system test to ensure all functions operate correctly. Verify heating, cooling, and fan operations. Check thermostat settings and wiring connections for accuracy. Review the installation manual to confirm all steps were followed. Test adaptive recovery and scheduling features. Ensure the thermostat displays the correct temperature and responds to adjustments. Address any issues promptly to guarantee optimal performance and energy efficiency. Proper final checks ensure a smooth and reliable user experience moving forward.
15.2 Ensuring Optimal Performance
To ensure optimal performance, regularly clean the thermostat and update its software if applicable. Check all wiring connections and system operations. Verify adaptive recovery settings and temperature schedules. Maintain proper power supply and battery levels. Test heating, cooling, and fan functions periodically. Refer to the Honeywell Pro 6000 manual for advanced settings and troubleshooting. Proper maintenance ensures energy efficiency, consistent comfort, and extended product lifespan. Regular checks help prevent issues and keep your system running smoothly year-round.
References and Additional Resources
Refer to the official Honeywell Pro 6000 Installation Manual for detailed instructions. Visit Honeywell’s website for additional support, FAQs, and updated resources to ensure proper installation and operation.
16.1 Honeywell Pro 6000 User Manual
The Honeywell Pro 6000 User Manual is a comprehensive guide designed to help users understand and operate their FocusPRO TH6000 Series thermostat effectively. It covers key features, installation steps, and advanced settings like Adaptive Intelligent Recovery. The manual also includes troubleshooting tips and maintenance recommendations to ensure optimal performance. For detailed instructions, refer to the official Honeywell Pro 6000 Installation Manual, available as a downloadable PDF on Honeywell’s website.
16.2 Online Support and FAQs
Honeywell offers extensive online support and FAQs to assist with the Pro 6000 installation and operation. Visit Honeywell’s official website for downloadable PDF guides, troubleshooting tips, and detailed FAQs. The support section covers common issues, wiring diagrams, and advanced settings like Adaptive Intelligent Recovery. Additionally, Honeywell provides customer support through live chat, email, and phone. For further assistance, explore video tutorials and user forums dedicated to the FocusPRO TH6000 Series thermostat.